|
Start to Finish: The steps and the tools | Sample step-by-step photo demonstrations | Additional observations
How does one go about creating a sculpture?
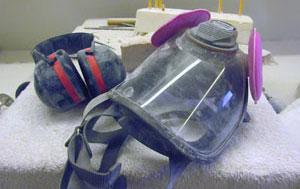
Note: Whether using hand tools or power tools the sequence of steps is essentially the same. In both cases use proper safety equipment for protection. You only get two ears, one set of eyes, and one pair of hands!
Right: safety equipment |
|
 |
Conceiving the sculpture—What do you want to create?
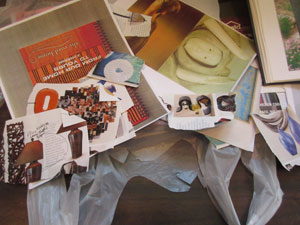
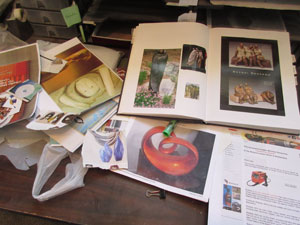
The first step in creating sculpture begins long before finding the stone. Learn to practice looking for shapes and forms that intrigue you. Your heart, and sometimes your hands, will tell you. Use a sketch book which you keep handy to draw outlines and tape in photos of forms that you find interesting. When you’re ready to carve, start with the visual resources you have collected. Then, consider practical issues such as the size and weight of the piece and the time you have available.
Right, above: Looking for Forms
Right, below:
Conceiving the form
|
|
 |
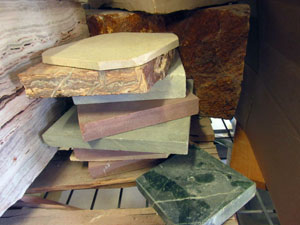
Planning and Plotting
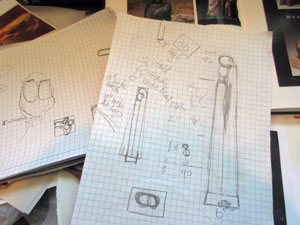
Decide on a design that fits the shape and proportional form of the stone. No sense cutting away more than half the stone, that is a waste and also hard work. Then create several drawings and a 3-D model so that you have a feel for the dimensions. Plot out lines on the model and proportionally draw lines on the stone so that you know what you will remove, and what you will leave in place.
 |
| |
 |
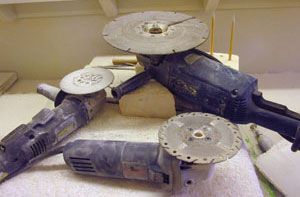
Blocking and shaping the stone
Now you’re ready to start removing stone. Cut off wedges that your model tells you must go. Once the proportional guide lines get blurry or cut off, redraw them. Keep refining your cuts. The drawing and redrawing process will keep you from getting lost and inadvertently removing something you needed to keep. You might want to use a red crayon to mark important points you don’t want to touch, so that in the dusty atmosphere you can see to leave them alone.
Right: cut-off saws
|
|
 |
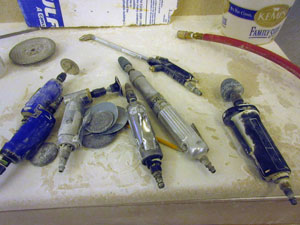
Roughing out the basic form
As you work, the process remains the same. Simply keep shaping the stone closer to the design of your model. Of course, it doesn’t always seem that simple, so take plenty of breaks to stop and analyze where you want to go next. As you get close to the desired form, use whatever tools seem to work best: hammer and hand chisels, pneumatic hammer, angle saws, grinders, drills. Feel free to experiment and find what works best for you.
See 2 photos right and below |
|
|
 |
Carving the shape
Continue using the same tools, working finer and smaller, taking greater care to be precise.
Yes, it does take a long time, and can begin to feel a bit tedious. Take photos at the end of each work period. Then, when you get impatient, look at them and see how far you’ve already come. At some point your form becomes close enough to your model that you can leave the model behind and focus more on the sculpture itself.
Right, above: 5 diamond Dremmel points
Right: mounted carbide grinding points, small pneumatic hammers and chisels |
|
 |
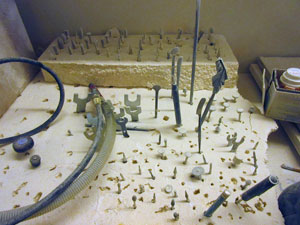
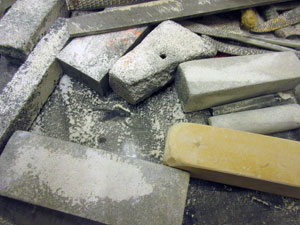
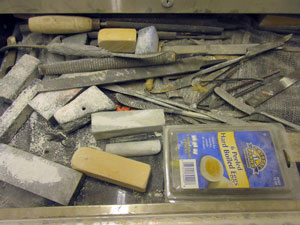
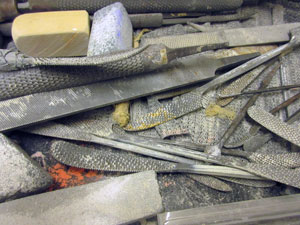
Cleaning, straightening and thinning the final carving
You’re getting close. The lines that you form now are final (unless you decide to go back and change them later). Be patient. Helping your sculpture express grace and movement can take many hours. In the end it will bring your sculpture to life and will be worth it. Don’t start polishing until you have the exact clean lines you desire. Otherwise you will just have to go backwards later and start polishing over again.
Right, above: filing tools
Right, middle: finish filing tools
Right, below: scrapers and dental tools
Below: stone on stone surface flattening tools
 |
 |
 |
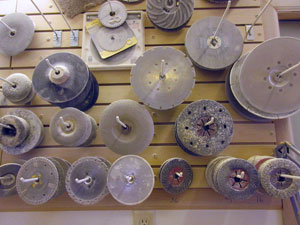
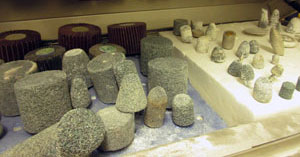
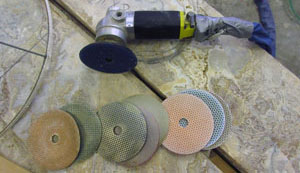
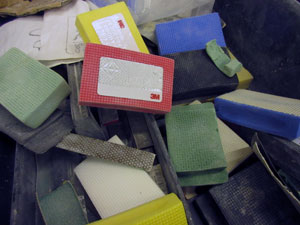
Polishing
Cool. Now you are almost done and ready to polish. From here you’re on easy street! Well, yes and no. Polishing to get out the bruises formed by the carving process is likely to take you just about as much time as you have already spent thus far. You start with sandpaper or 60 grit diamond pads (green), and move through 120 grit (black), 220 grit (red), 400 grit (yellow), 800 grit (white) and 1500grit (blue). Sometimes you will discover a bruise that you missed and need to go back a few steps. For a matte finish, 400 grit is as far as you need to go. For high shine, 1500 grit will do it. Give it time. You are bringing the beauty in your sculpture to life. (Sometimes listening to a polka band helps keep your rhythm going.)
Right: 2 photos of polishing tools
|
|
 |
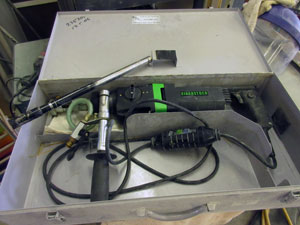
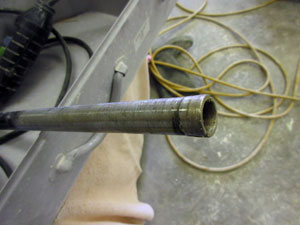
Selecting a base/Mounting/Pinning
Pick a base for your sculpture that enhances the beauty of the piece you have created. If your sculpture is tall, you will probably need to secure it from being accidentally knocked over. Using a pin to connect the sculpture and base is a simple process that is not all that easy. You drill a hole in the bottom of the sculpture and in the base on which it will sit. Then, you cut a metal pin to the proper length and insert it into both. Presto. Simple? Well here’s the trick. The pin won’t bend, and the stone won’t bend either, so both holes must be perfectly aligned and straight with each other. Good luck.
Right: creating a base
Right, below: diamond core bit
 |
|
Left: water fed drill) |
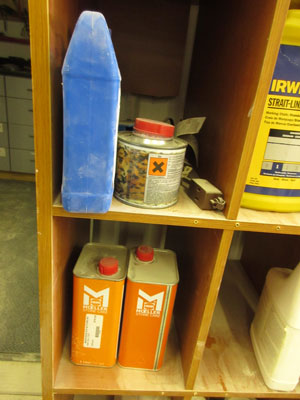
Sealing
A wide array of stone sealers and color enhancers are available. Depending on the stone and the setting in which you will place your sculpture, you may wish to use a sealer. However, never put any sealer on your sculpture before you have adequately tested it on one of your off cut leftovers. You don’t want to make a mess of your sculpture on this final step!
Displaying
Time to celebrate. Don’t set your sculpture down just anywhere. Where you put it and how you light it makes a huge difference. Experiment with placement and lightning until you feel like it looks as beautiful and proud as you feel! |
|
 |
| |
|
